Introduction to Bluefin
Deinonychus antirrhopus
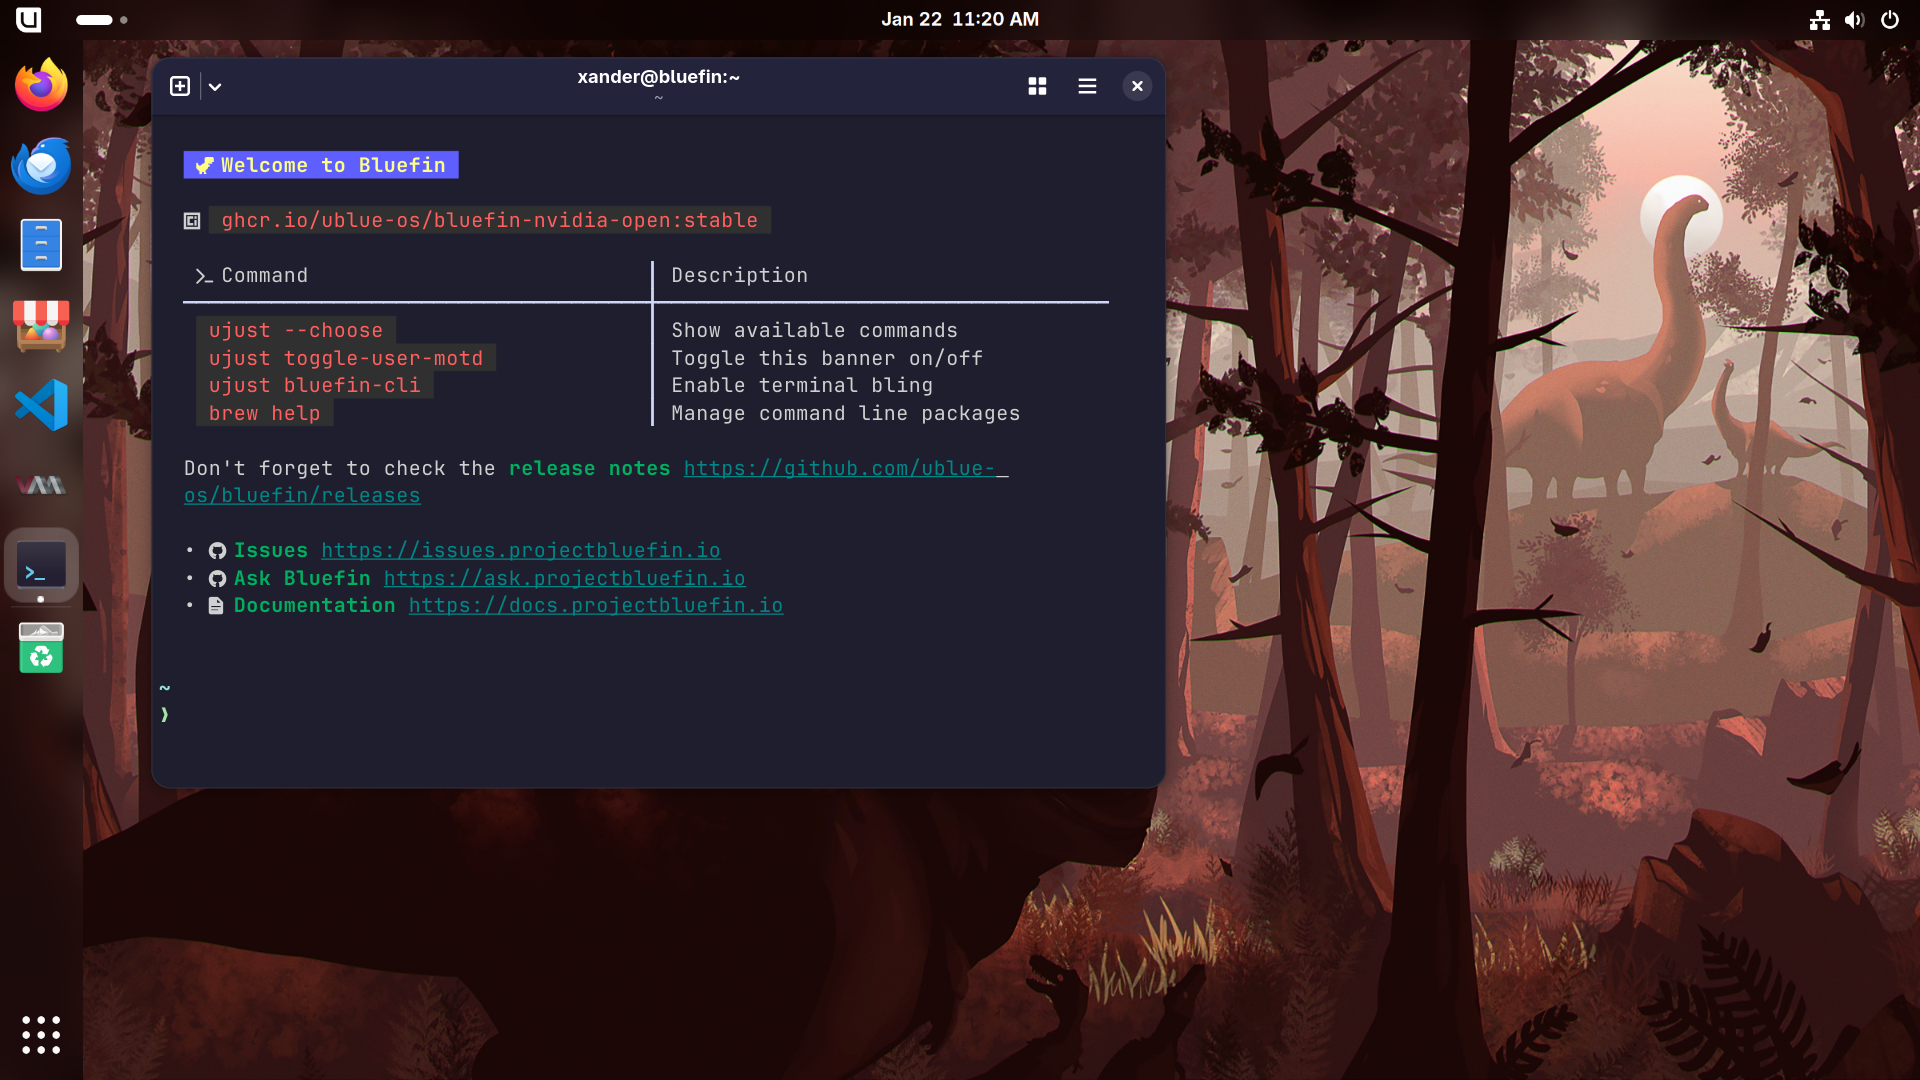
Welcome to docs.projectbluefin.io
Give me a lever long enough and a Free OS to set it on, and I can move the world.
-- Steve Langasek
Features
Bluefin features a GNOME (Donate) desktop configured by our community. It is designed to be hands-off and stay out of your way so you can focus on your applications.
System updates are image-based and automatic. Applications are logically separated from the system by using Flatpaks for graphical applications and brew for command-line applications.
Bluefin is "An interpretation of the Ubuntu spirit built on Fedora technology"—a callback to an era of Ubuntu's history that many open source enthusiasts grew up with, much like the Classic X-Men. We aim to bring that same vibe here; think of us as the reboot. Chill vibes.
- Ubuntu-like GNOME layout.
- Integrates the following GNOME Extensions by default:
- Dash to Dock - for a more Unity-like dock
- Appindicator - for tray-like icons in the top right corner
- GSConnect - Integrate your mobile device with your desktop
- Blur my Shell (Donate) - for that bling
- Search Light - provides search functionality and a macOS Spotlight-like workflow. Bound to Super-Space by default.
- Integrates the following GNOME Extensions by default:
- Developer Mode - Dedicated developer mode that transforms Bluefin into a powerful cloud-native developer workstation
- Ptyxis terminal for container-focused workflows
- Distroshelf (Donate) for container management
- Tailscale - included for VPN along with
wireguard-tools- Use
systemctl disable --now tailscaled.serviceto turn it off if you don't plan on using it. - Tailscale systray support included
- Use
- GNOME Extensions Manager (Donate) included
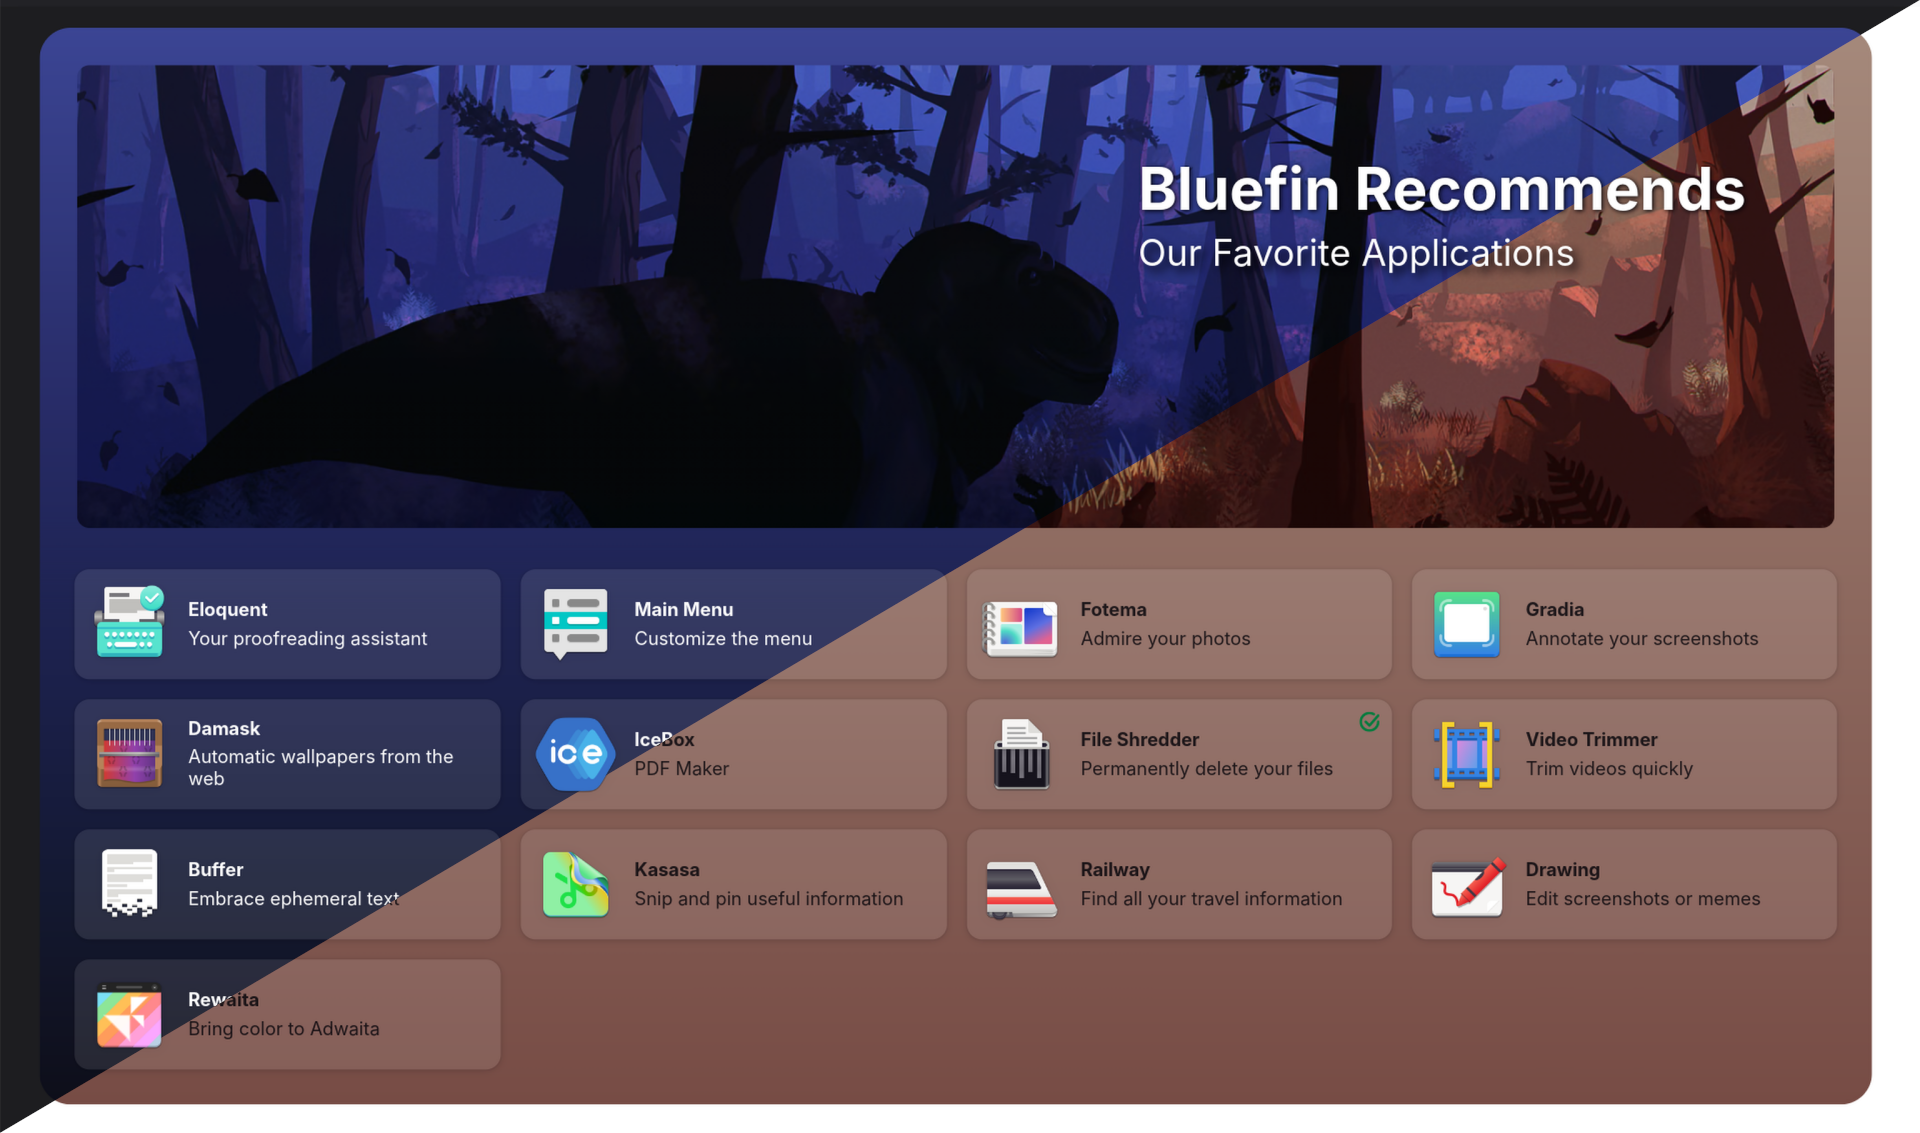
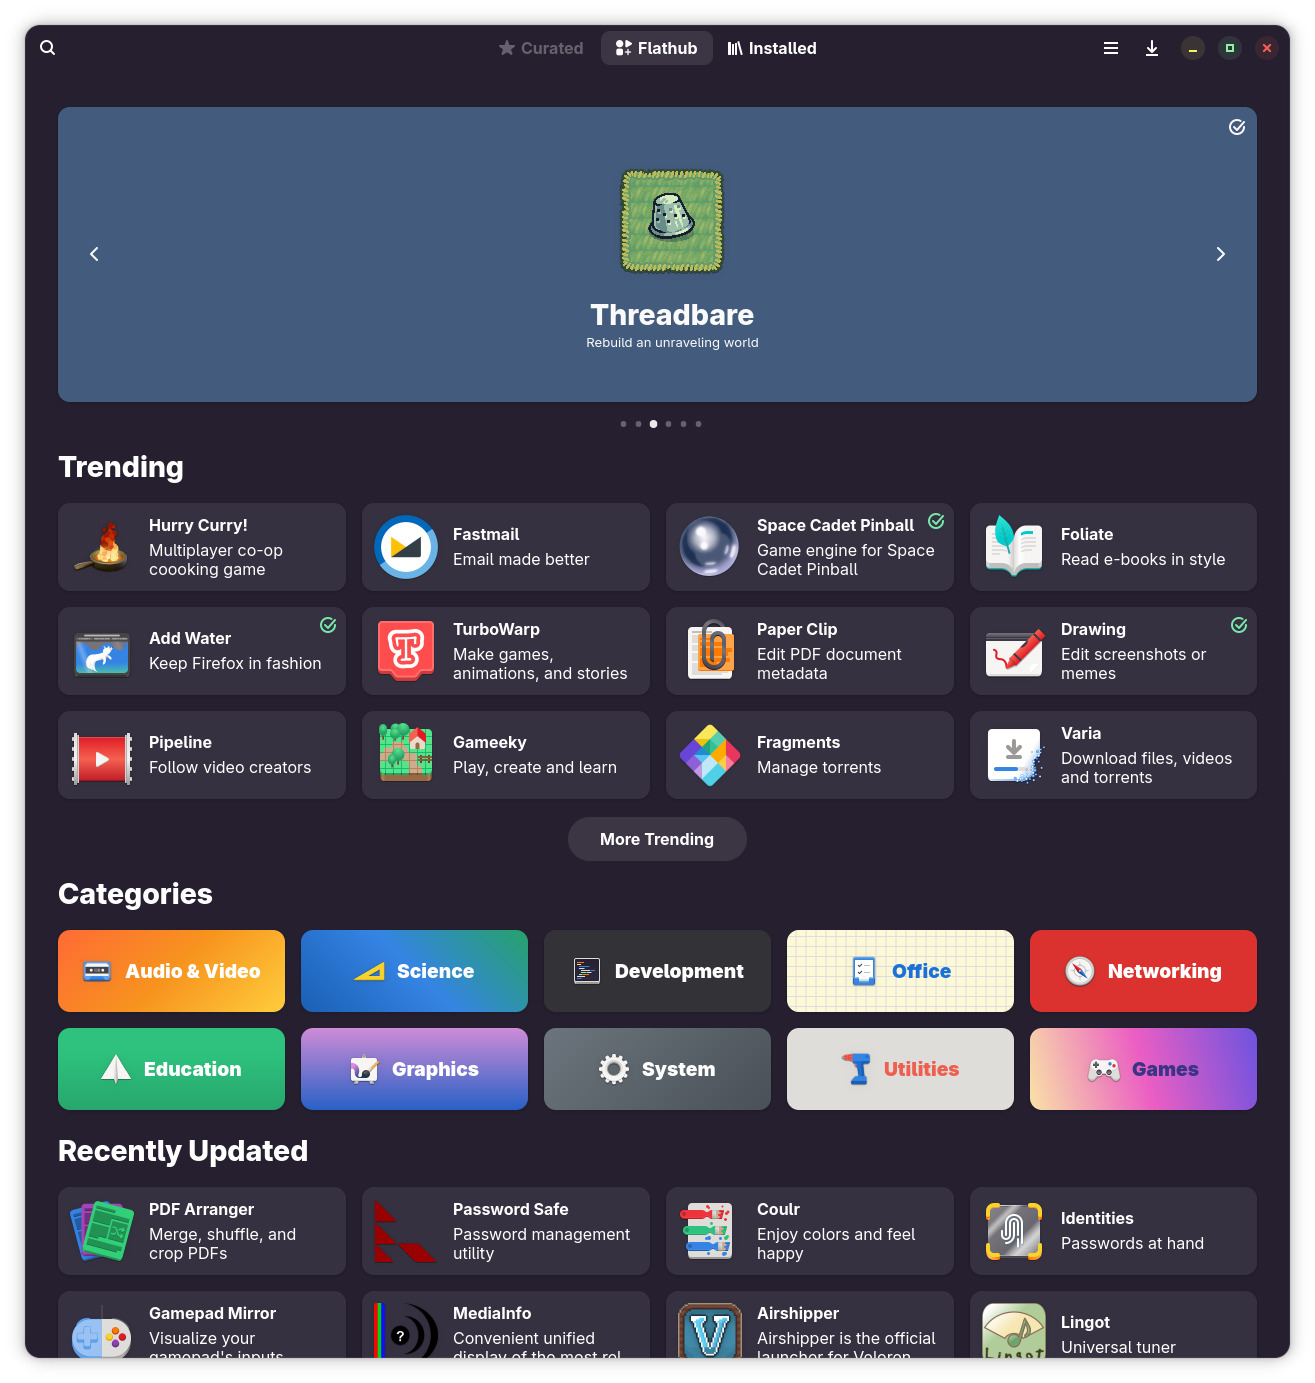
- Bazaar Application Store featuring Flathub:
- Quality of Life Features
- Starship terminal prompt enabled by default
- Solaar - included for managing Logitech mice
along with
libratbagd - rclone (Donate) - mount nearly any remote storage service onto your local machine, great for multi-machine setups
- restic (Donate) - A modern backup program for your files
zshandfishincluded (Instructions) as optional shells- Switcheroo support for laptops with multiple GPUs
- Built on top of the Universal Blue main image - enabling straightforward sharing of benefits:
- Extra udev rules for game controllers and other devices included out of the box
- All multimedia codecs included
- System designed for automatic staging of updates
- If you've never used an image-based Linux before, use your computer normally
- Don't overthink it—just shut your computer off when you're not using it
Distroless Focus
Bluefin specifically ships upstream tools in lieu of custom applications. The idea of a "distribution app store" has proven to be unsustainable for desktop application authors, so Bluefin ships tools like Bazaar and Homebrew instead. Additionally the team purposely ensures that the workflows used in Bluefin remain not only distribution agnostic, but operating system agnostic. For example, podman, docker, and flatpak instead of distribution specific tooling, etc.
The workflows in Bluefin are purposely upstream focused -- we believe in a consistent Linux experience for everyone, whether it's WSL on Windows, Podman/Docker on a Mac, or any Linux system. The cloud native ecosystem has proven that this model works. This allows millions of existing developers to onboard with a workflow that they already know, and allows Linux to compete where it matters the most. A community-driven approach that leads to a sustainable future where we're in charge of our operating systems again.