AI and Machine Learning
Methodology
Bluefin was created by engineers, but was brought to life by Jacob Schnurr and Andy Frazer. The artwork is free for you to use and will always be made by humans. It is there to remind us that open source is an ecosystem that needs to be sustained. The software we make has an effect on the world. Bluefin's AI integration will always be user controlled, with a focus on open source models and tools.
Bluefin's focus in AI is providing a generic API endpoint to the operating system that is controlled by the user. Just as Bluefin's operating system is built with CNCF tech like bootc and podman, this experience is powered by Agentic AI Foundation tech like goose. With a strong dash of the open source components that power RHEL Lightspeed.
Bluespeed
"Bluespeed" is our collection of Bluefin's developer experience tools and support for AI development workflows. We do this via community managed set of tool recommendations and configuration. We believe that the operating system should have more API endpoints for AI.
- "Bring your own LLM" aproach, it should be easy to switch between local models and hosted ones
- Goose as the primary interface to hosted and local models
- Accelerate open standards in AI by shipping tools from the Agentic AI Foundation, CNCF, and other foundations
- Local LLM service management
- Model management via
ramalamaand Docker Model, your choice
- Model management via
- GPU Acceleration for both Nvidia and AMD are included out of the box and usually do not require any extra setup
- Highlight great AI/ML applications on FlatHub in our curated section in the App Store
- A great reason to sell more swag
We work closely with the RHEL Lightspeed team by shipping their code, giving feedback, and pushing the envelope where we can.
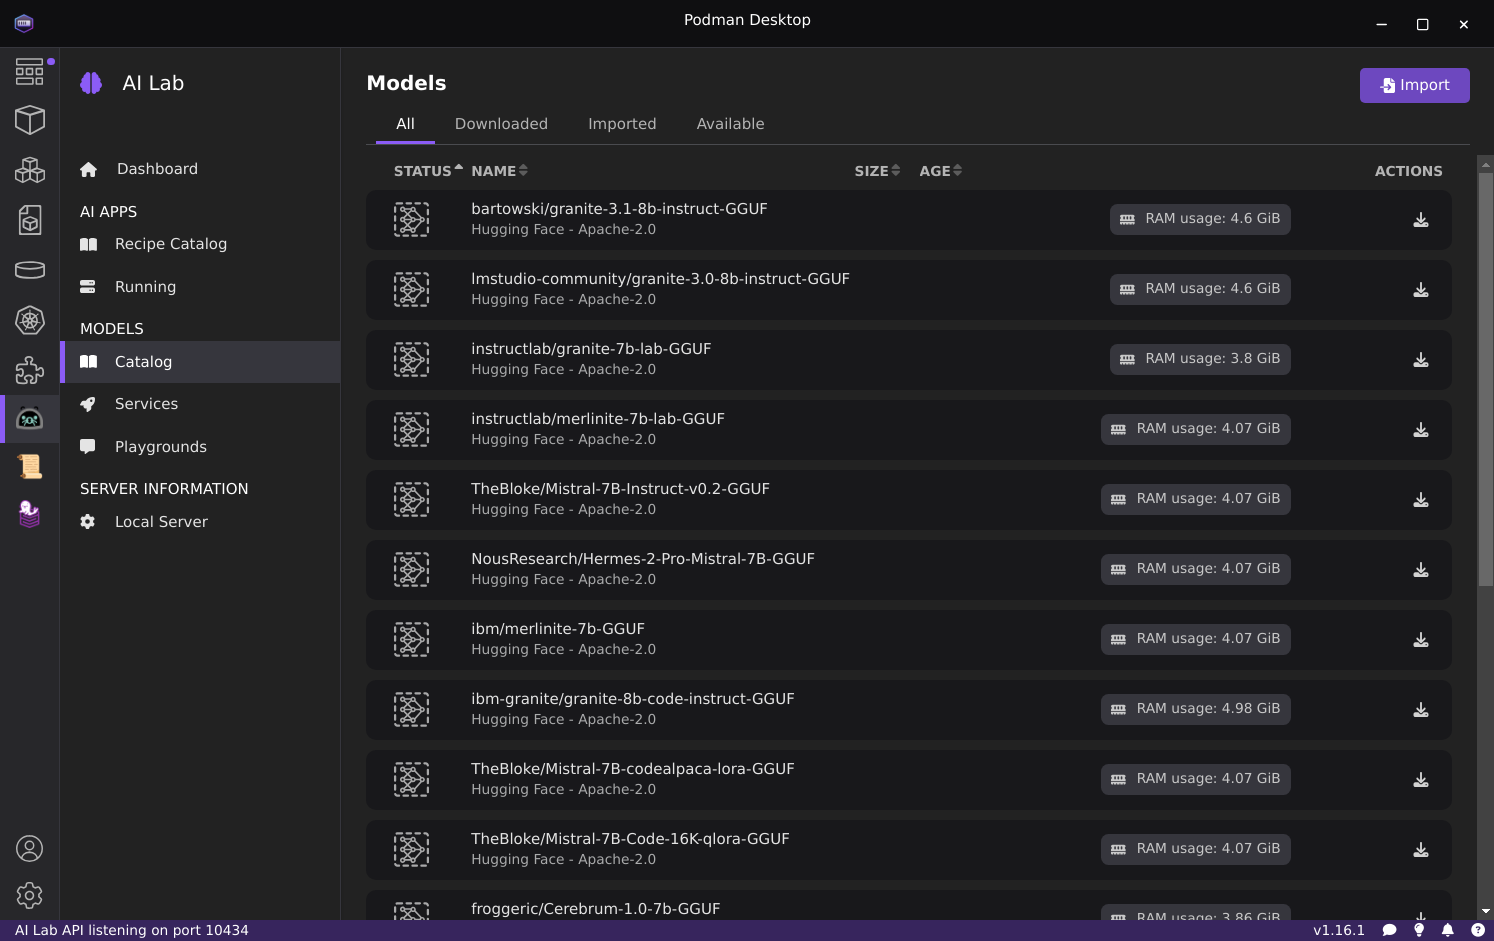
AI Lab with Podman Desktop
The AI Lab extension can be installed inside the included Podman Desktop to provide a graphical interface for managing local models:
AI Command Line Tools
The following AI-focused command-line tools are available via homebrew, install individually or use this command to install them all: ujust bbrew and choose the ai menu option:
| Name | Description |
|---|---|
| aichat | All-in-one AI-Powered CLI Chat & Copilot |
| block-goose-cli | Block Protocol AI agent CLI |
| claude-code | Claude coding agent with desktop integration |
| codex | Code editor for OpenAI's coding agent that runs in your terminal |
| copilot-cli | GitHub Copilot CLI for terminal assistance |
| crush | AI coding agent for the terminal, from charm.sh |
| gemini-cli | Command-line interface for Google's Gemini API |
| kimi-cli | CLI for Moonshot AI's Kimi models |
| llm | Access large language models from the command line |
| lm-studio | Desktop app for running local LLMs |
| mistral-vibe | CLI for Mistral AI models |
| opencode | AI coding agent for the terminal |
| qwen-code | CLI for Qwen3-Coder models |
| ramalama | Manage and run AI models locally with containers |
| whisper-cpp | High-performance inference of OpenAI's Whisper model |
Ramalama
Install Ramalama via brew install ramalama: manage local models and is the preferred default experience. It's for people who work with local models frequently and need advanced features. It offers the ability to pull models from huggingface, ollama, and any container registry. By default it pulls from ollama.com, check the Ramalama documentation for more information.
Use the full ramalama command in Bluefin, matching the upstream RamaLama documentation.
Ramalama's command line experience is similar to Podman. Examples include:
ramalama pull llama3.2:latest
ramalama run llama3.2
ramalama run deepseek-r1
You can also serve the models locally:
ramalama serve deepseek-r1
Then go to http://127.0.0.0:8080 in your browser.
Ramalama will automatically pull in anything your host needs to do the workload. The images are also stored in the same container storage as your other containers. This allows for centralized management of the models and other podman images:
❯ podman images
REPOSITORY                                 TAG         IMAGE ID      CREATED        SIZE
quay.io/ramalama/rocm                      latest      8875feffdb87  5 days ago     6.92 GB
Integrating with Existing Tools
ramalama serve will serve an OpenAI compatible endpoint at http://0.0.0.0:8080, you can use this to configure tools that do not support ramalama directly:

Other Ramalama tips
- Force Vulkan instead of ROCm:
ramalama serve --image quay.io/ramalama/ramalama gpt-oss:latest - Strix Halo users:
ramalama serve --image docker.io/kyuz0/amd-strix-halo-toolboxes:vulkan-radv gpt-oss:latest- Check out AMD Strix Halo Llama.cpp Toolboxes and Donato Capitella's channel for more information
Running AI Agents in VS Code
Here is an example of using devcontainers to run agents inside containers for isolation:
Docker Model Runner
Docker Model Runner is Docker's built-in local LLM service, included in Bluefin alongside Ramalama. It runs models from Docker Hub's AI catalog and exposes an OpenAI-compatible API — no separate server setup required.
Basic Usage
# Pull a model from Docker Hub
docker model pull ai/llama3.2

# Run a model interactively
docker model run ai/llama3.2

# List downloaded models
docker model ls

# Remove a model
docker model rm ai/llama3.2
API Endpoint
Docker Model Runner serves an OpenAI-compatible endpoint at http://localhost:12434 that you can use with any tool that supports the OpenAI API format — Goose, aichat, VSCode extensions, and more.
Ramalama vs Docker Model Runner
Both provide a local OpenAI-compatible API. Choose based on your workflow:
| Ramalama | Docker Model Runner | |
|---|---|---|
| Model sources | OCI registries, Ollama, HuggingFace | Docker Hub AI catalog |
| Engine | Podman | Docker Engine |
| Quick command | ramalama | docker model |
See the Docker Model Runner documentation for the full model catalog and configuration options.
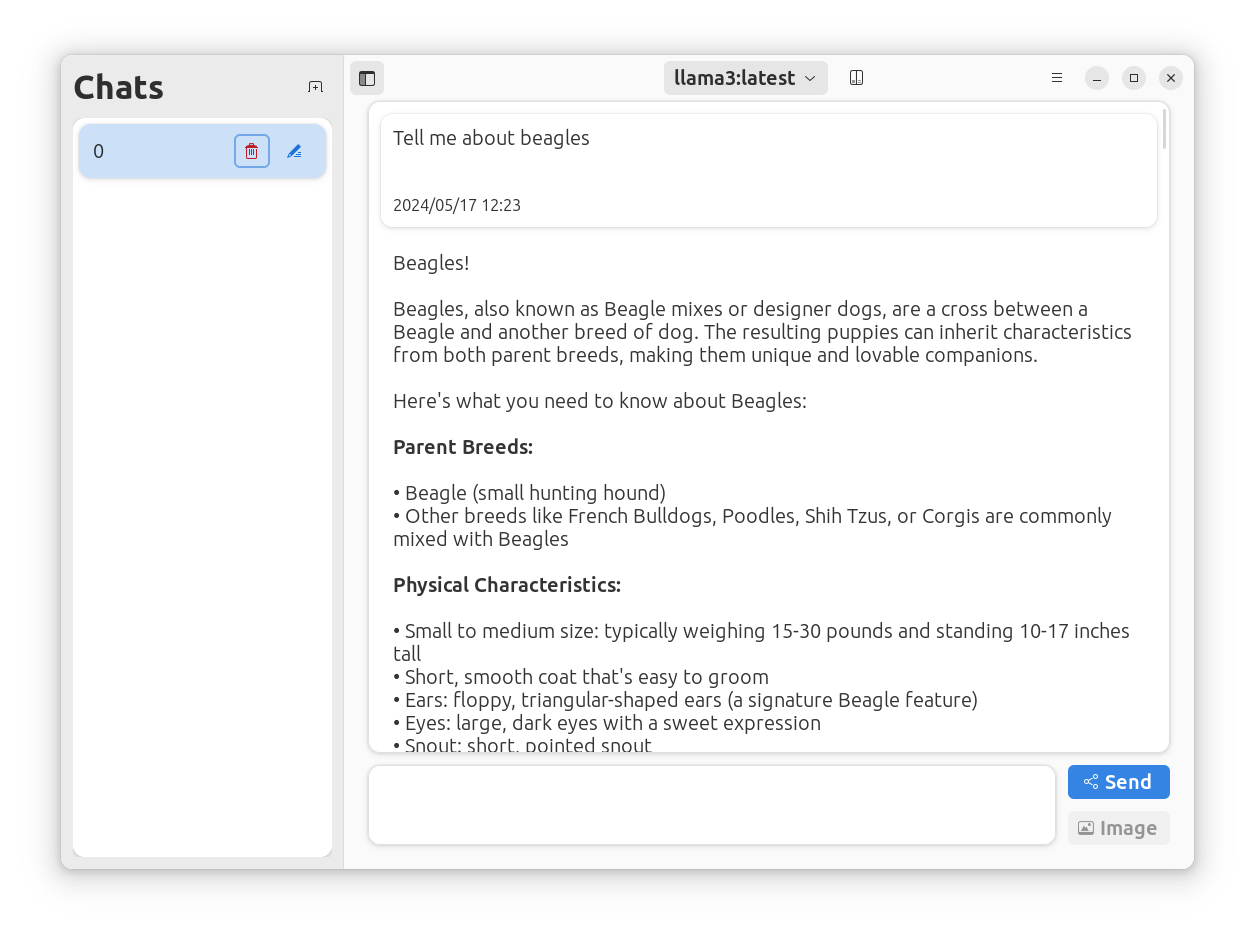
Alpaca Graphical Client
For light chatbot usage we recommend that users install Alpaca to manage and chat with your LLM models from within a native desktop application. Alpaca supports Nvidia and AMD[^1] acceleration natively.
Bluefin binds Ctrl-Alt-Backspace as a quicklaunch for Alpaca automatically after you install it!
Configuration

Automated Troubleshooting (WIP)
Bluefin ships with automated troubleshooting tools: